
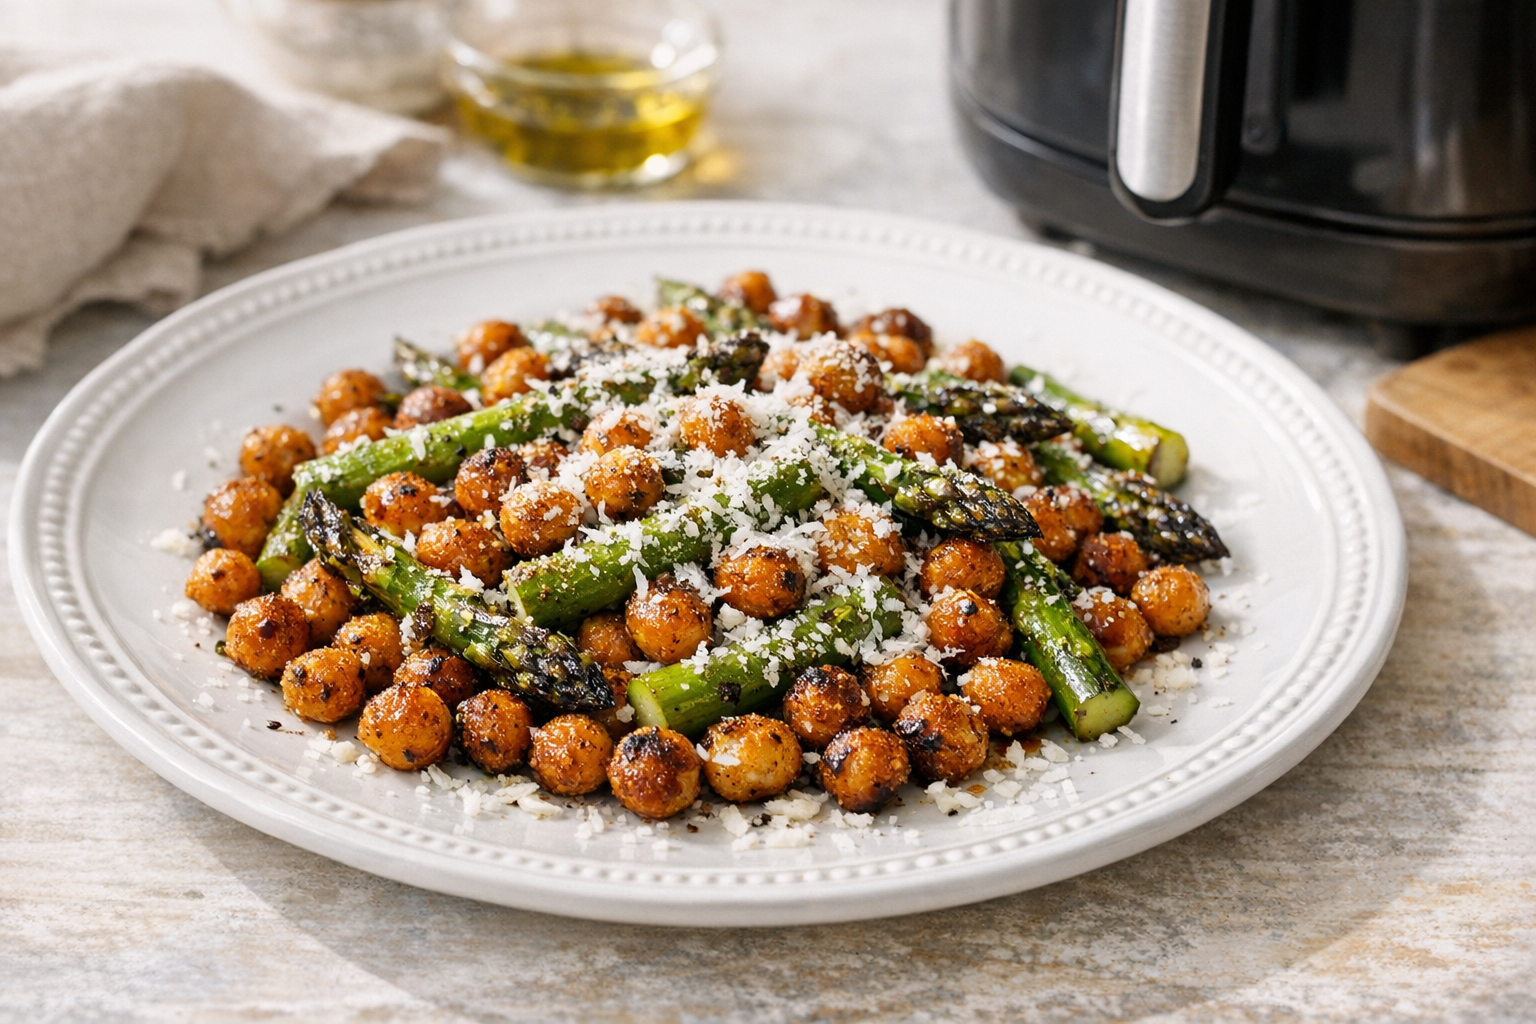
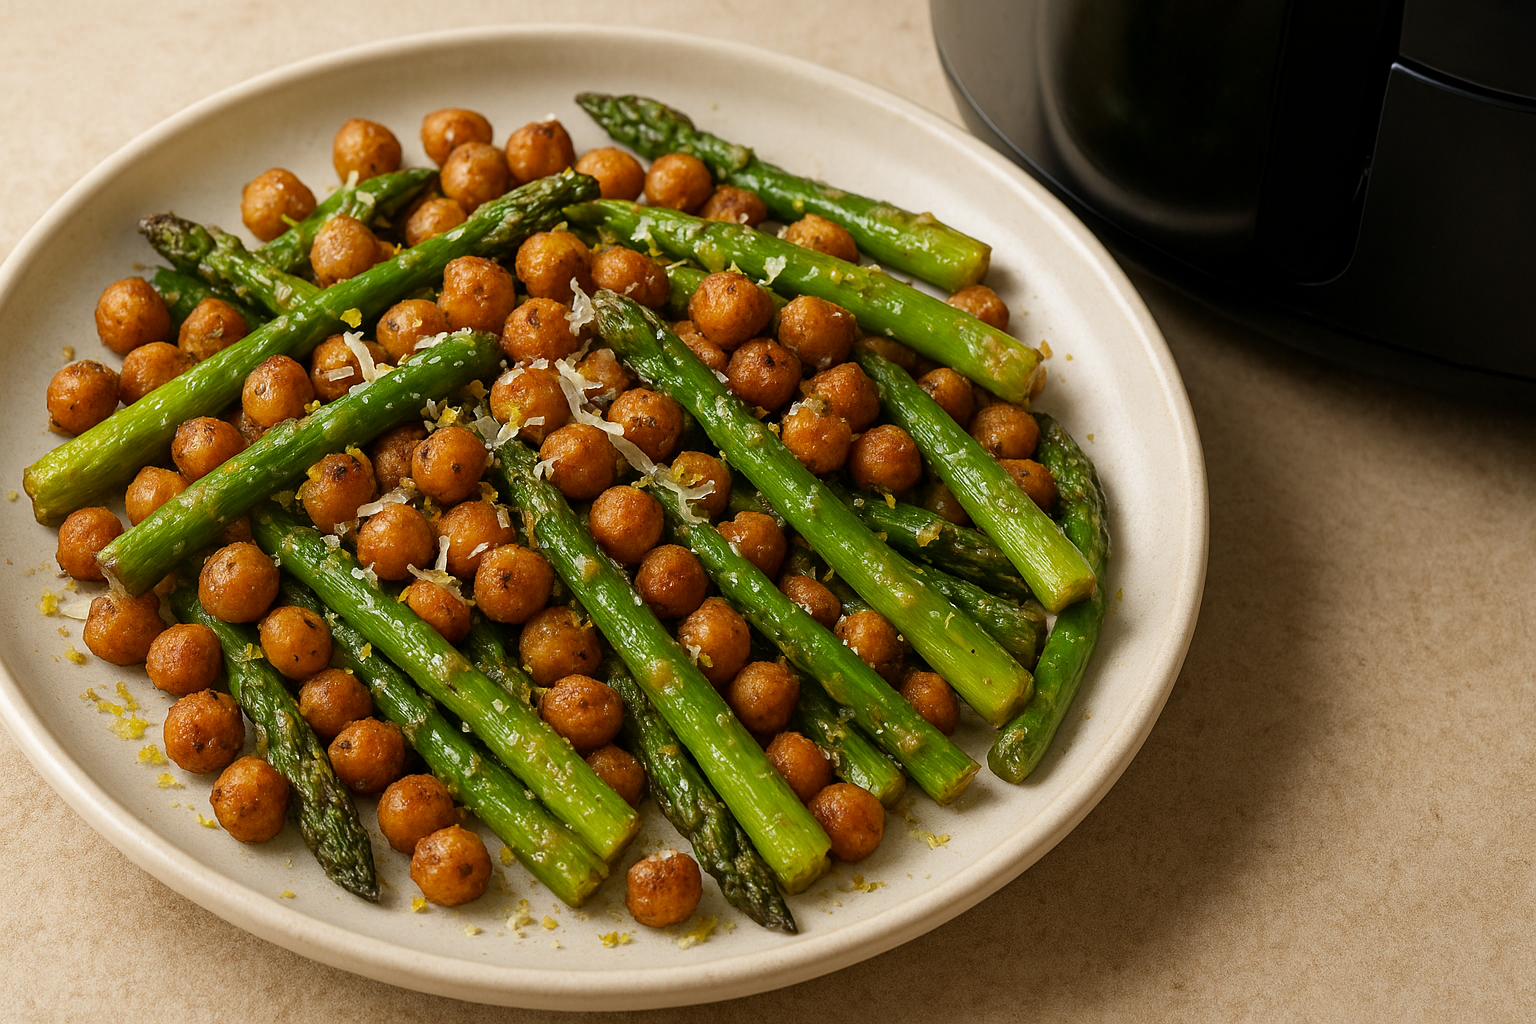
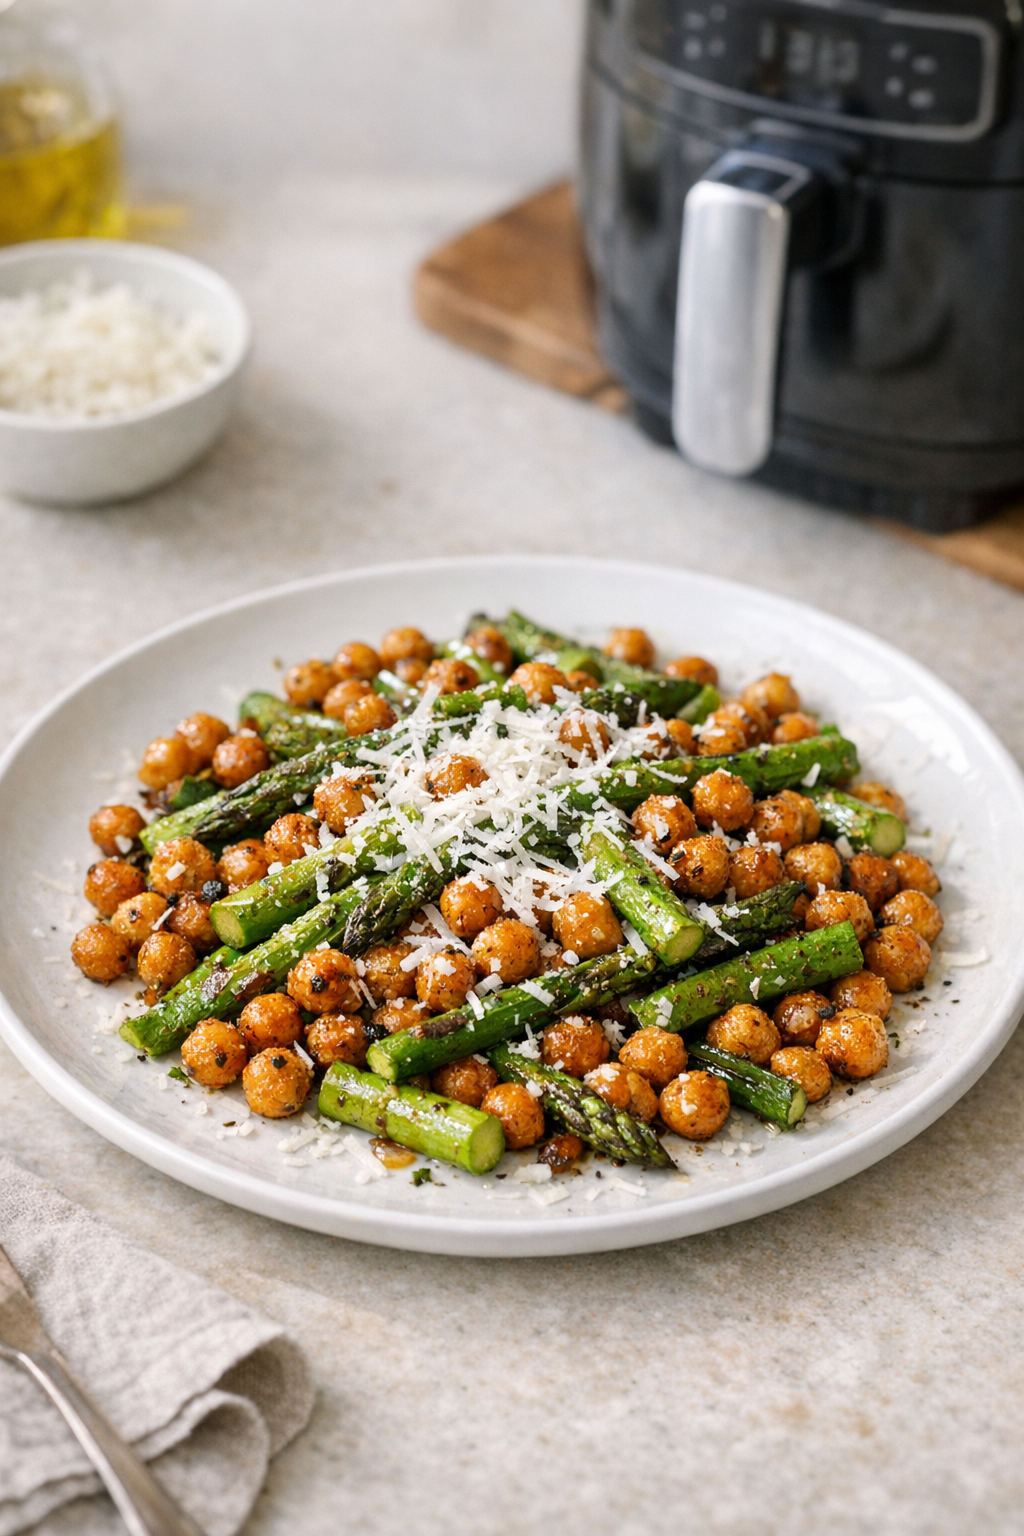
Crispy chickpeas, snappy asparagus, and salty Pecorino come together in a skillet-style dinner that still feels light. The air fryer does the heavy lifting for texture, then everything gets tossed and finished the way you’d do it on the stovetop—without babysitting a pan.
Why This Air Fryer Recipe Works
Chickpeas need dry heat and space to crisp, and the air fryer delivers both. Asparagus cooks fast, so it goes in after the chickpeas have already started to brown.
A quick toss with lemon, garlic, and Pecorino at the end gives you that “skillet” finish—bright, savory, and a little luxurious.
- Two-stage cooking: chickpeas crisp first, asparagus stays tender-crisp
- Minimal oil, big payoff in crunch
- Pecorino adds saltiness and bite without a heavy sauce
Ingredients You’ll Need
Keep it simple and let texture do the work. Here’s what you’ll need for the Air Fryer Crispy Chickpea and Asparagus Skillet with Pecorino.
- 1 (15-ounce) can chickpeas, drained and rinsed
- 1 bunch asparagus (about 1 pound), trimmed and cut into 2-inch pieces
- 2 tablespoons olive oil, divided
- 1 teaspoon kosher salt, plus more to taste
- 1/2 teaspoon black pepper
- 1 teaspoon smoked paprika (or regular paprika)
- 1/2 teaspoon garlic powder
- 1/4 teaspoon crushed red pepper flakes (optional)
- Zest of 1 lemon + 1 tablespoon lemon juice
- 1/3 cup finely grated Pecorino Romano, plus extra for serving
Optional but nice: a drizzle of good olive oil at the end, or a squeeze more lemon if your Pecorino is very salty.
How to Make Air Fryer Crispy Chickpea and Asparagus Skillet with Pecorino in the Air Fryer
1) Dry the chickpeas well. Spread them on a clean towel or paper towels and pat dry. The drier they are, the crispier they get.
2) Season the chickpeas. In a bowl, toss chickpeas with 1 1/2 tablespoons olive oil, salt, pepper, paprika, garlic powder, and red pepper flakes (if using).
3) Air fry the chickpeas. Preheat your air fryer for 3 minutes. Add chickpeas to the basket in a single layer (a little overlap is fine). Air fry, shaking halfway through.
4) Prep the asparagus. While chickpeas cook, toss asparagus with the remaining 1/2 tablespoon olive oil and a pinch of salt and pepper.
5) Add asparagus to finish. When chickpeas are mostly crisp, add asparagus to the basket and cook until asparagus is bright green and tender-crisp. Shake once so it cooks evenly.
6) “Skillet” finish in a bowl. Immediately transfer chickpeas and asparagus to a large bowl. Add lemon zest and lemon juice, then toss.
7) Add Pecorino. Sprinkle in grated Pecorino and toss again while everything is still hot so it lightly melts and clings. Taste and adjust with more salt, pepper, or lemon.
Air Fryer Time and Temperature
Use this as your baseline, then adjust for your air fryer model and how crisp you like the chickpeas.
- Preheat: 3 minutes at 400°F
- Chickpeas first: 400°F for 10–12 minutes, shake at 6 minutes
- Add asparagus: 400°F for 5–7 minutes, shake once
Signs it’s done: chickpeas sound slightly “rattly” when you shake the basket, and asparagus tips are lightly browned but still firm.
Tips for the Best Results
Dry chickpeas like you mean it. Moisture is the #1 reason chickpeas turn chewy instead of crisp.
Don’t add the cheese in the air fryer. Pecorino can melt and stick or burn; tossing it in after cooking keeps it clean and flavorful.
Shake, don’t stir. A good basket shake keeps chickpeas rolling into the hot airflow and crisping evenly.
- If chickpeas aren’t crisp at 12 minutes, keep going in 2-minute bursts.
- If asparagus is getting too dark, pull it early and let chickpeas finish alone.
- For extra crunch, let the chickpeas rest 2 minutes after cooking before tossing with lemon and cheese.
Variations and Substitutions
Make it fit what you have. The method stays the same: crisp the chickpeas first, then cook the quick veggie.
- Swap the veg: use broccolini, green beans, or zucchini (add zucchini only in the last 4–5 minutes).
- Change the cheese: Parmesan works; Pecorino is sharper and saltier. For dairy-free, skip cheese and add a spoonful of nutritional yeast plus extra lemon.
- Add protein: top with a sliced air-fried chicken breast or a jammy boiled egg.
- Spice route: swap paprika for cumin + coriander, finish with a little tahini and lemon.
What to Serve With It
This is great as a light main or a hearty side. Keep the rest of the plate simple so the crisp chickpeas stay the star.
- Warm pita or crusty bread to scoop up chickpeas and Pecorino
- Cooked farro, couscous, or quinoa for an easy grain bowl
- A simple tomato-cucumber salad with olive oil and vinegar
- Alongside salmon, shrimp, or steak for a fast weeknight dinner
Need another air fryer side to round it out? Air Fryer Recipes
Storage and Reheating
Chickpeas are crispiest right after cooking, but leftovers are still tasty. Store in an airtight container in the fridge for up to 3 days.
To reheat: air fry at 375°F for 4–6 minutes, shaking halfway through. This brings back texture better than the microwave, especially for the chickpeas.
If you’re planning for leftovers, consider storing Pecorino separately and adding after reheating for the cleanest flavor. For more air fryer reheating ideas, Air Fryer Reheating Guide
FAQ
How do I get chickpeas really crispy in the air fryer?
Dry them thoroughly and don’t overcrowd the basket. Cook at 400°F and shake at least once so they tumble and crisp on all sides.
Can I use frozen asparagus?
Fresh works best for tender-crisp texture. If using frozen, expect softer results and add it only at the very end; you may need an extra 2–3 minutes to drive off moisture.
Do I need to peel chickpeas for this?
No. Peeling can make them a little crispier, but it’s time-consuming and not necessary for a great batch.
Why are my chickpeas chewy instead of crunchy?
Usually it’s moisture (not dried enough) or too low of a temperature. Also, chickpeas soften as they sit with lemon; if you want maximum crunch, toss with lemon and Pecorino right before serving.
Can I cook everything together from the start?
It’s not ideal because asparagus finishes faster than chickpeas and can get limp or overly browned. The two-stage method keeps both components at their best.


